D5. Ahoy, PCAP’n!
Points: 300
Level: Difficult
Category: Network Traffic Analysis, Network Forensics
Description
In the vast ocean of network traffic monitored by the company’s Network Security team, you need to find out: the compromised machine’s name and the Command-and-Control (C2) IP address of the threat actor (where they are sending the data to). The Network Security team has packet captures (“PCAPs”) of the company’s network traffic around the time of the alert, but due to a tight Information Technology (IT) budget and a lack of resources, it’s limited to a small window of time.
Objective
This challenge is to identify which machine is sending the stolen data out of your environment and where it went, by looking at how protocols can be used and abused for malicious intent. From the provided PCAP file, you need to identify 2 important pieces of information: the name of our compromised machine sending our super-secret data and the Command-and-Control (C2) IP address the data is being sent.
Flag Format
The flag should be in the format: [compromised-hostname]_[C2-IP]
Tools Used
WireShark
Methodology
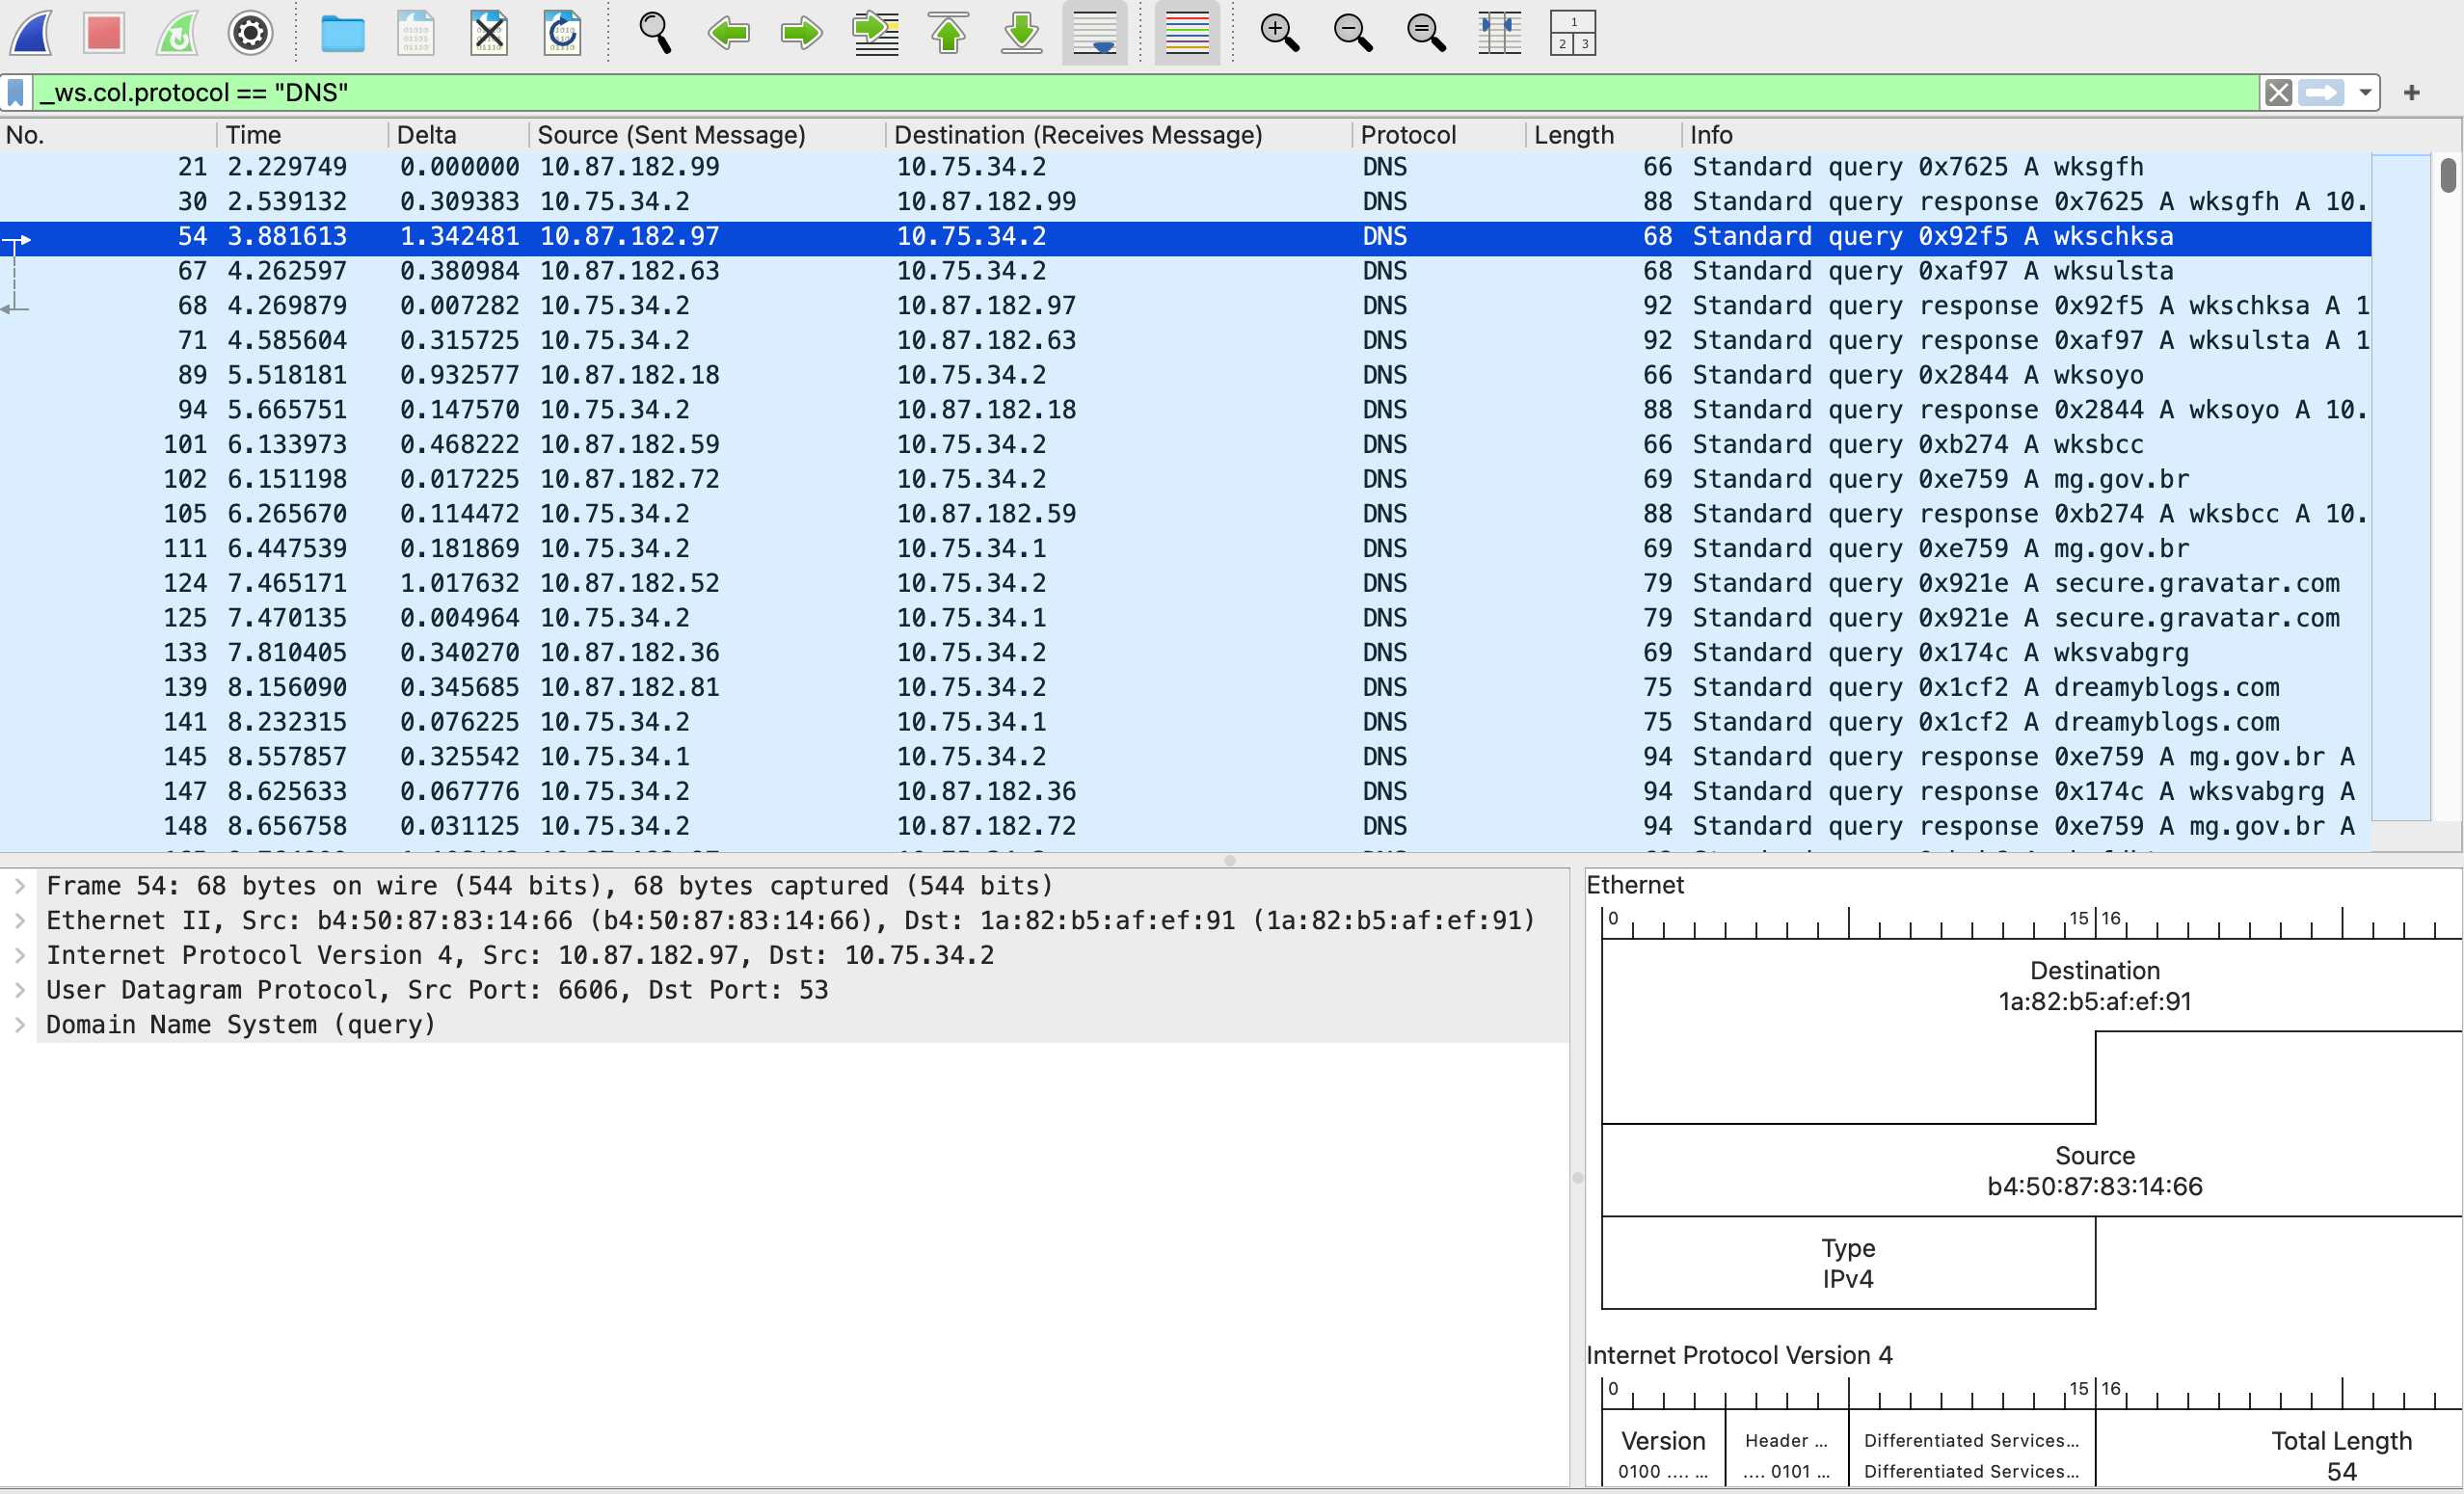
I installed the network analysis packet tool, WireShark, downloaded the PCAP file, and uploaded the PCAP file (pirates.pcap) onto WireShark. Many rows were shown to represent messages between systems coming from the company network and outside to/from the Internet. I noticed there were a few protocols listed under the ‘Protocol’ column such as Address Resolution Protocol (ARP), Transmission Control Protocol (TCP), Internet Control Message Protocol (ICMP), and Domain Name System (DNS).
I narrowed down the list to the most relevant protocol for this challenge (DNS) because it is used to resolve hostnames to IP addresses and to know what address I need to conduct a task, such as to send the document.
Inside the packet, I conducted the following steps:
- Right-clicked on any of the DNS protocol field line
- Clicked ‘Apply as Filter,’
- Clicked on ‘Selected.’
This gave me all of the field lines with only DNS Protocol with a total of 3106 packets and each contained a query and response. On the right-hand side there is an Info column, and this is where I was able to have a quick view of queries and responses. If I highlighted a row and looked to the bottom left box, Wireshark provided more in-depth detail of the request.
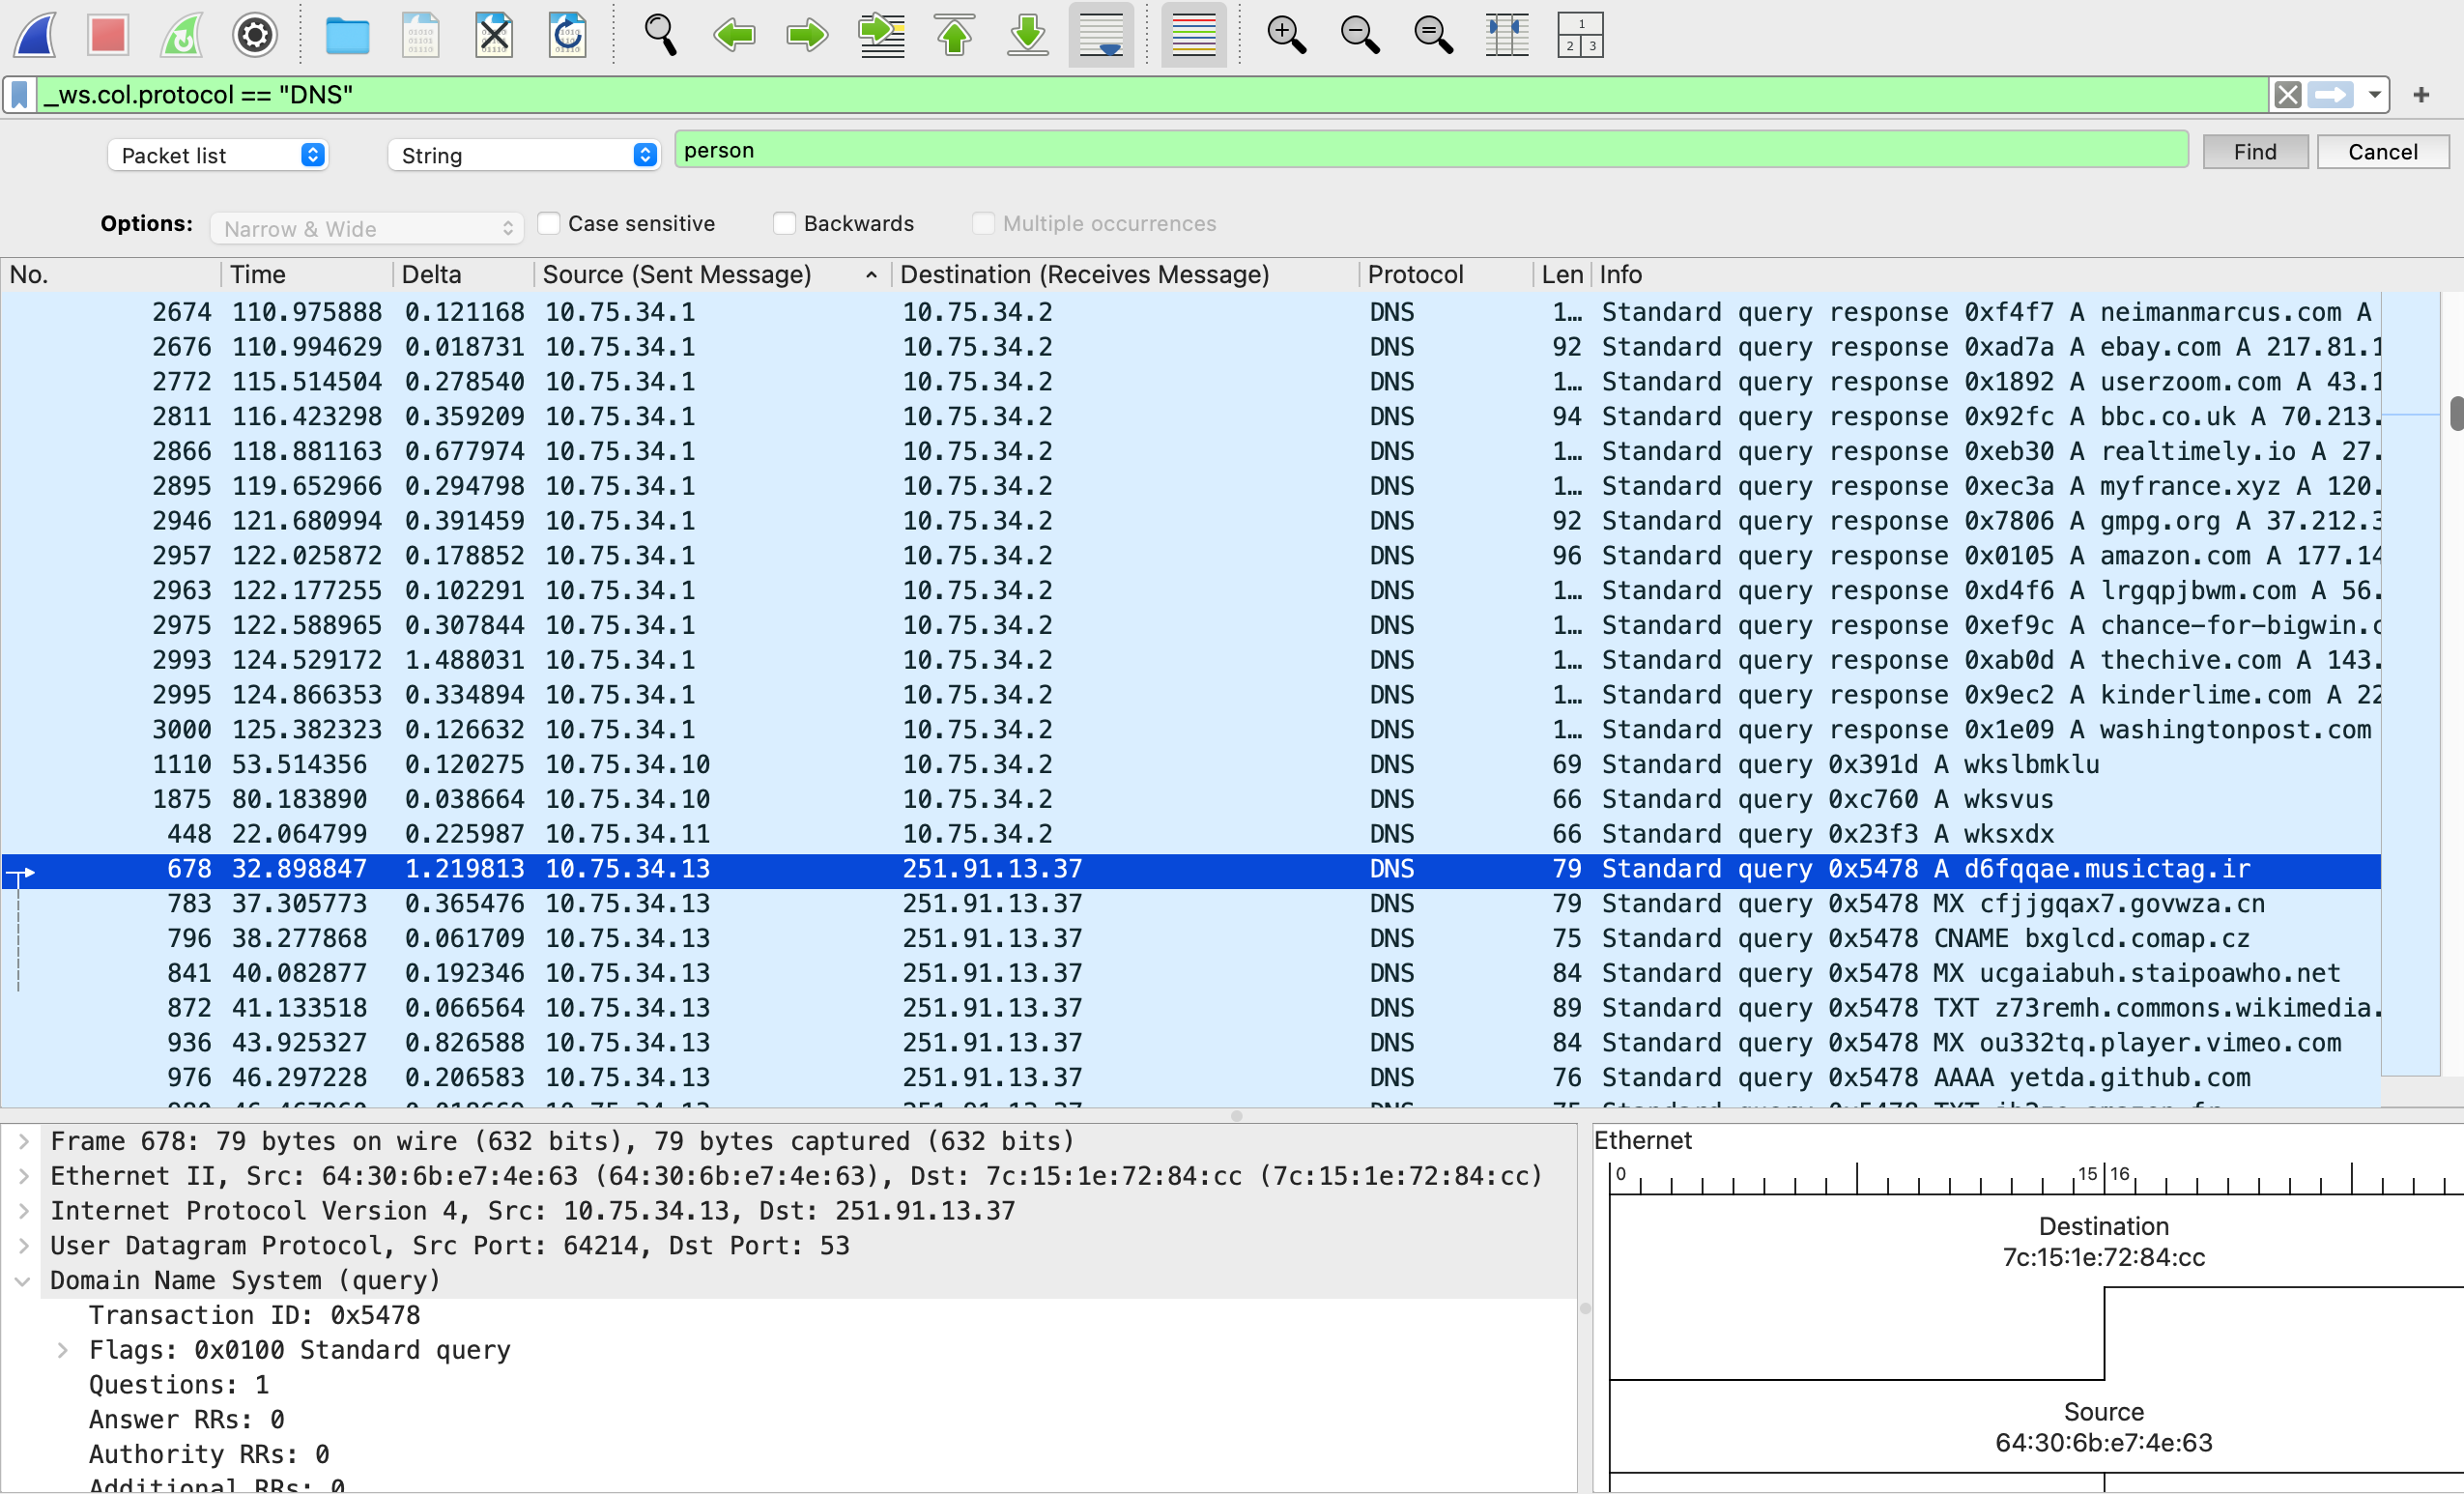
Since there were 3106 lines, I tried to use the ‘Find’ button to see if the client’s name, Personalyz.io, was listed. I conducted the following steps:
- Clicked on ‘Edit’
- Clicked on find packet
- Under the drop down, I chose ‘String’ and typed in the name
Unfortunately, nothing came up when I conducted that search. I then scrolled up and down to see if there was anything out of the ordinary. I noticed that most source and destination columns started with a source string: 10.87.182… or 10.75.34… to destination string: “10.87.182…” or “10.75.34…”.
I noticed something strange, a few of the source began with “251.91.13.37” to destination “10.75.34.13” and vice versa. I focused on those queries which were only 33 and easier to review to see if I find something strange that can answer the challenge. It looked like the “10…” was the internal and “251…” led to external information on the Internet. I found the exfiltration point and the second part of the flag: 25.91.13.37 (destination).
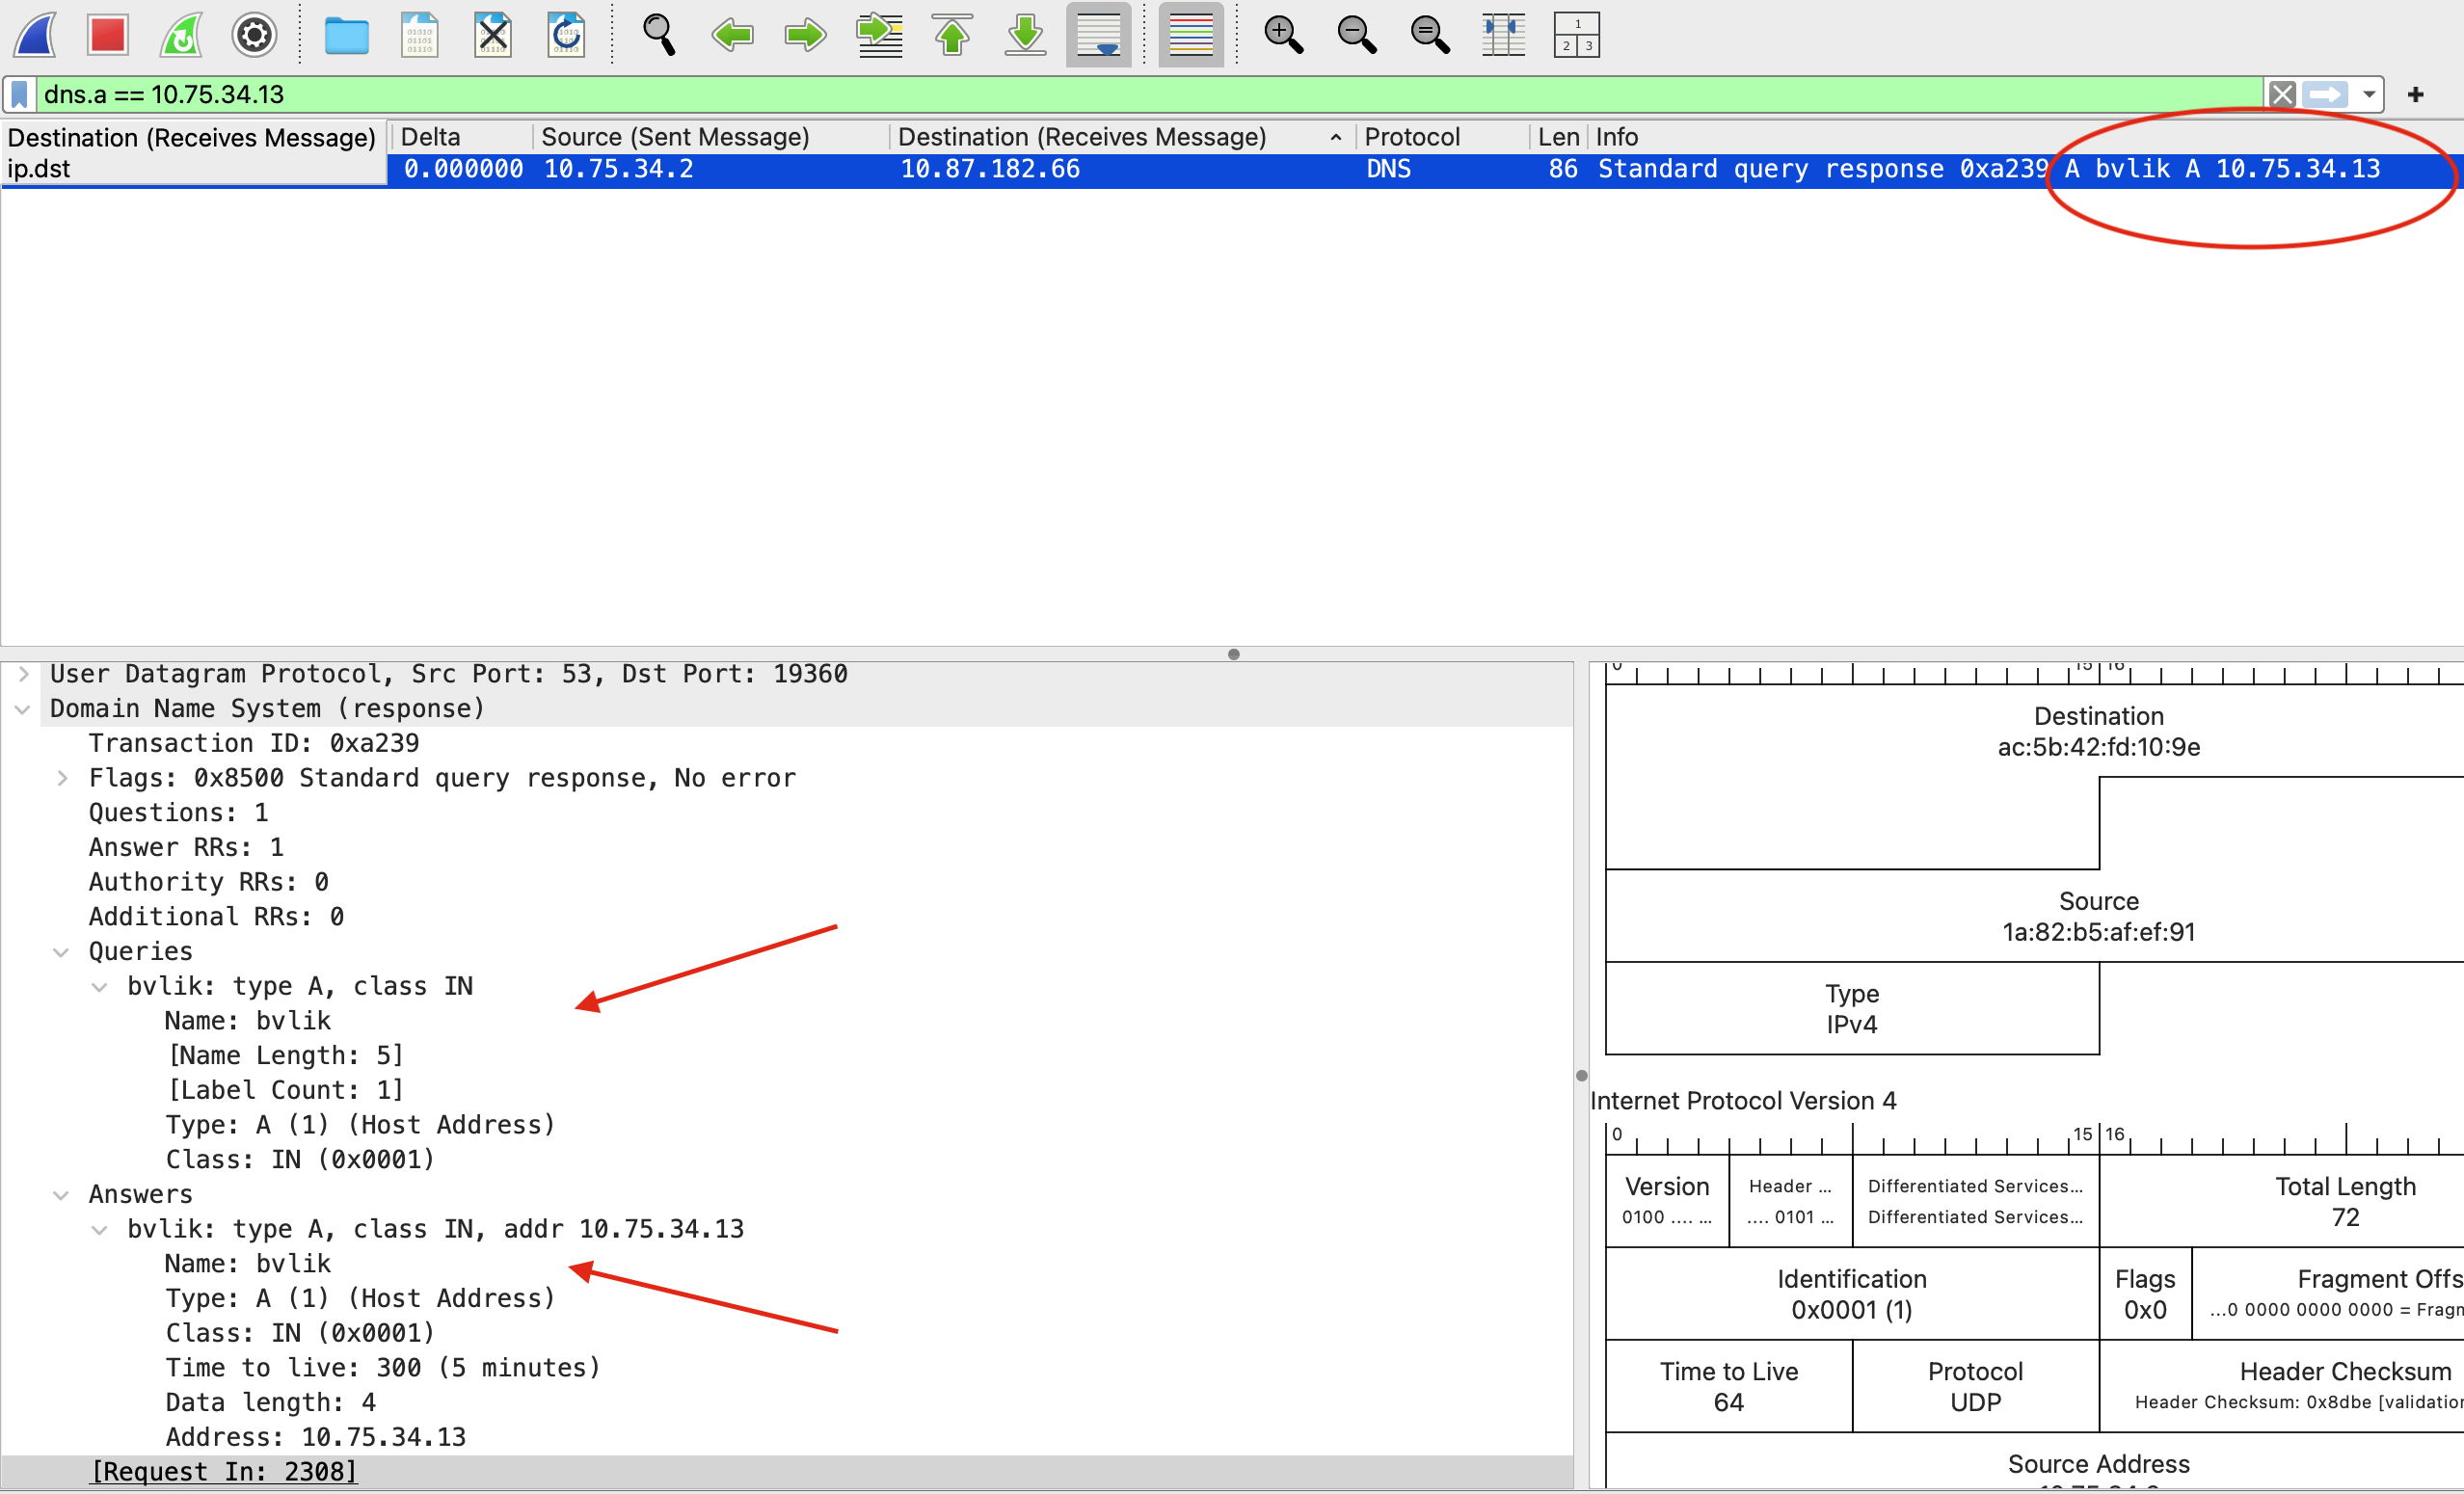
To get the first part of the flag, I needed to know the hostname of the source machine. I continued to review the DNS records and scanned the list of DNS messages for a response packet. I made a note of the source next to the destination IP obtained from the second part of the flag and filtered by that source number. In other words, I changed the IP address to the one for the xfill server (dns.a == 10.75.34.13) and pressed ENTER which revealed the response to the lookup for the hostname of the machine exfiltrating data. I found the first part of the flag (“bvlik”).
Flag
bvlik_251.91.13.37
MITRE ATT&CK
(Suggested)
- Command and Control: Application Layer Protocol (T1071.004 – DNS): Here, the attacker used DNS queries and responses to establish communication with their external server. Instead of obvious channels like HTTP or HTTPS, they tunneled activity through DNS. The threat actor attempted to take command and control of traffic (DNS) that is usually trusted and rarely blocked.
- Exfiltration Over C2 Channel (T1041): In this case, the compromised host sent sensitive data through the same channel used for command and control, specifically leveraging DNS requests and responses to sneak data outside the network.